Get ready for a flavor hit with Crispy Dill Pickle Chicken! If you love a tangy crunch, this dish is for you. The juicy chicken, soaked in dill pickle juice, packs a zesty punch. I’ll guide you through each step, from marinating to cooking, ensuring you achieve that perfect crispy texture. Let’s dive into the tasty details and make dinner exciting again!
Why I Love This Recipe
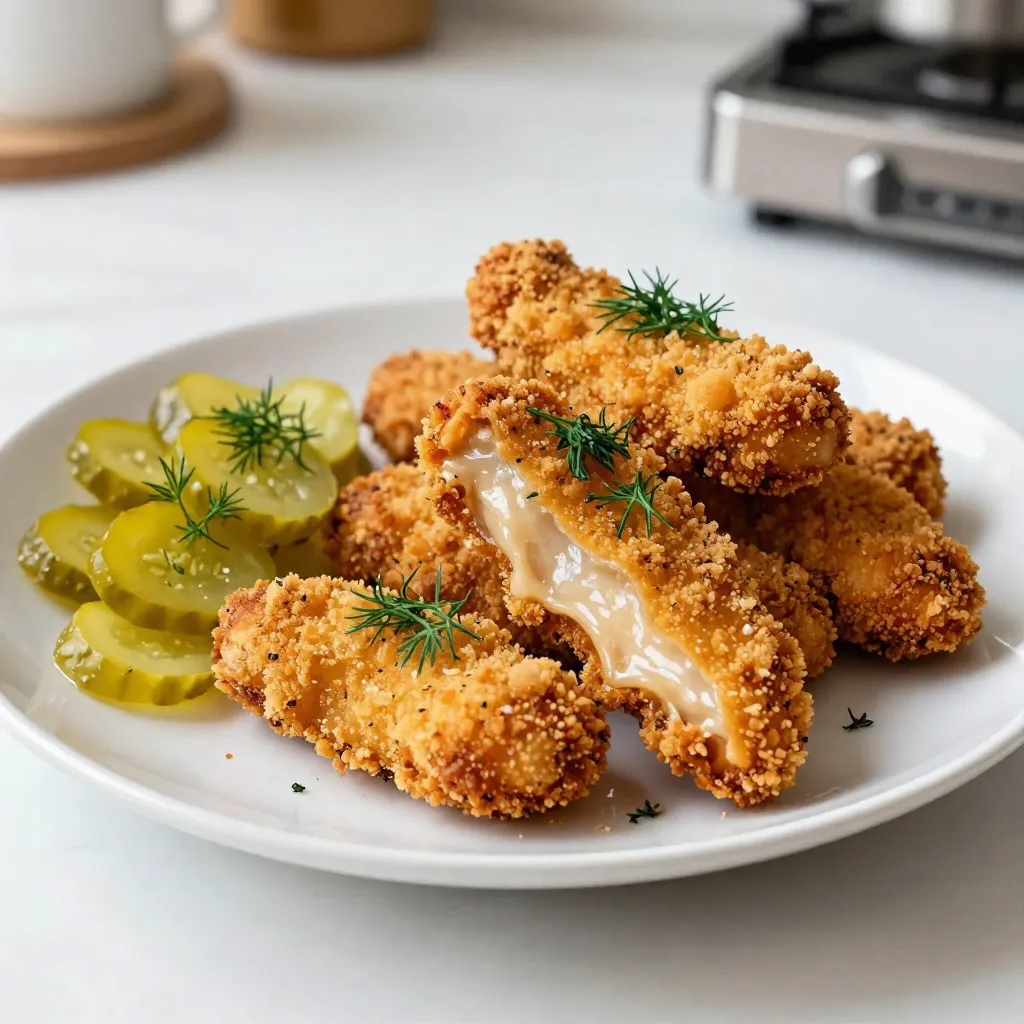
- Crispy Texture: The Panko breadcrumbs create an extra crunchy layer that makes each bite irresistible.
- Flavorful Marinade: Marinating the chicken in dill pickle juice infuses it with a tangy flavor that enhances the dish.
- Easy Preparation: This recipe uses simple ingredients and a straightforward breading process, making it accessible for home cooks.
- Versatile Serving: These crispy chicken tenders can be enjoyed on their own, in sandwiches, or with your favorite dipping sauces.
Ingredients
Main Ingredients List
– 1 lb chicken tenders
– 1 cup dill pickle juice
– 1 cup breadcrumbs (Panko recommended)
– 1/2 cup all-purpose flour
– 2 large eggs
Seasonings
– 1 teaspoon garlic powder
– 1 teaspoon onion powder
– 1 teaspoon paprika
– Salt and pepper to taste
Cooking Essentials
– Cooking spray or oil
– Equipment needed: skillet, bowls, and a paper towel
To make Crispy Dill Pickle Chicken, you need a few key ingredients. Start with chicken tenders. They are perfect for this dish. The dill pickle juice is crucial. It adds a zesty flavor that makes this meal pop.
Breadcrumbs give that satisfying crunch. I recommend using Panko breadcrumbs for extra crispiness. You will also need all-purpose flour and large eggs to create a nice coating.
Seasoning is vital too. Garlic powder, onion powder, and paprika bring warmth and depth. Don’t forget salt and pepper for balance.
Lastly, you’ll need some cooking spray or oil. The right equipment, like a skillet and bowls, will make cooking easier. This combination of ingredients will give you the best flavor and texture. Enjoy the process!

Step-by-Step Instructions
Marinating the Chicken
Marinating the chicken is key. It adds flavor and keeps the meat juicy. I recommend marinating for at least one hour. For the best taste, try to marinate overnight. This lets the dill pickle juice soak in deeply.
Setting Up Breading Stations
Next, set up your breading stations. You need three shallow bowls. In the first bowl, mix flour with salt, pepper, garlic powder, and onion powder. In the second bowl, beat the two eggs. In the third bowl, combine breadcrumbs with paprika and a pinch of salt.
Now, let’s bread the chicken. Take each tender from the pickle juice. Let the extra liquid drip off. First, dredge the chicken in the flour mix. Then dip it in the beaten eggs. Finally, coat it in the breadcrumb mix. Press lightly to make sure it sticks.
Cooking the Chicken
For cooking, you can pan-fry or bake. If you pan-fry, heat a skillet over medium. Add enough oil or cooking spray to coat the bottom. Once hot, add the breaded chicken. Don’t overcrowd the pan. Cook for 4-5 minutes on each side until golden brown.
If you prefer baking, preheat your oven to 425°F (220°C). Place the chicken on a baking sheet. Bake for 20-25 minutes, flipping halfway. This method gives you a crispy texture without frying.
Tips & Tricks
Achieving the Crispiest Texture
To make your Crispy Dill Pickle Chicken extra crunchy, use Panko breadcrumbs. Panko is lighter and provides a better texture than regular breadcrumbs. It gives that perfect bite.
When frying, avoid overcrowding your pan. If you add too many pieces, the oil cools down. This makes your chicken soggy instead of crispy. Fry in batches to keep each piece crunchy and golden.
Flavor Enhancements
You can add more spices to boost flavor. Try a pinch of cayenne for heat or some dried dill for extra dill flavor. Mix in Italian herbs for a twist.
For marinades, you can use buttermilk or yogurt along with pickle juice. These options add creaminess and depth to the chicken’s taste.
Serving Suggestions
Pair your Crispy Dill Pickle Chicken with coleslaw or a fresh green salad. The crunchiness of the chicken contrasts well with the crisp veggies.
For dipping sauces, ranch or a spicy aioli works best. They complement the chicken’s zesty flavor beautifully. You can also serve extra dill pickles on the side for a fun crunch!
Pro Tips
- Marinate Longer for More Flavor: For the best flavor, marinate the chicken tenders in dill pickle juice for at least 4 hours or overnight. This will infuse the chicken with a tangy, delicious taste.
- Double Dredge for Extra Crunch: For an extra crunchy coating, double dredge the chicken tenders by repeating the breading process. After the first coat, dip them back in the egg and then again in the breadcrumbs.
- Use a Thermometer: To ensure the chicken is cooked through, use a meat thermometer. The internal temperature should reach 165°F (75°C) for safe consumption.
- Experiment with Spices: Feel free to customize the breadcrumb seasoning with your favorite spices such as cayenne pepper for heat or dried herbs for an aromatic touch.
Variations
Air Fryer Option
For a healthier twist, use an air fryer. This method cuts down on oil while keeping the chicken crispy.
– Adjustments for air frying: Instead of frying in oil, lightly coat the chicken with cooking spray. Place the breaded tenders in a single layer in the air fryer basket.
– Cooking times and temperatures: Set the air fryer to 400°F (200°C) and cook for 10-12 minutes. Flip halfway through for even cooking.
Gluten-Free Version
If you need a gluten-free option, you can still enjoy this dish.
– Substitutions for breading: Use gluten-free breadcrumbs instead of regular ones. Almond flour or crushed cornflakes work well too.
– Alternative marinade options: Replace regular dill pickle juice with a gluten-free version. You can also use lemon juice or vinegar for a zesty flavor.
Spice It Up
Want to add some heat? Spicing up your chicken is easy and fun.
– Adding heat with spices: Mix cayenne pepper or chili powder into the breading for a kick. Adjust the amount based on your spice level.
– Ideas for flavor variations: For a bold twist, toss the chicken in buffalo sauce after cooking. This adds a tangy heat that pairs perfectly with the dill flavor.
Storage Info
Refrigeration Guidelines
Store your leftover crispy dill pickle chicken in an airtight container. This keeps the chicken fresh and tasty. Place a paper towel at the bottom to absorb moisture. This helps retain crispiness. You can store it in the fridge for up to three days.
Freezing Instructions
To freeze cooked chicken, let it cool completely first. Wrap each piece tightly in plastic wrap. Then place them in a freezer bag. This prevents freezer burn. You can freeze it for up to three months. When ready to eat, move it to the fridge overnight to thaw.
Reheating Tips
To restore crispiness, use an oven or air fryer. Preheat your oven to 375°F (190°C). Place the chicken on a baking sheet and heat for about 10-15 minutes. For air frying, set it to 350°F (175°C) and cook for about 5-7 minutes. This ensures your chicken stays crunchy and delicious.
FAQs
How long should I marinate the chicken in pickle juice?
You should marinate the chicken for at least 1 hour. However, if you want a stronger pickle flavor, marinate it overnight. The longer you soak, the more flavor the chicken gets. The pickle juice tenderizes the meat and adds a nice zesty kick.
Can I use chicken breasts instead of tenders?
Yes, you can use chicken breasts! Just slice them into strips to mimic tenders. Cooking time may change slightly. Cook the chicken for about 6-7 minutes on each side. Always check for an internal temperature of 165°F to ensure they are safe to eat.
What should I serve with Crispy Dill Pickle Chicken?
Crispy Dill Pickle Chicken pairs well with many sides. Here are some great options:
– French fries or sweet potato fries
– Coleslaw for a crunchy contrast
– Macaroni and cheese for comfort
– A fresh green salad for balance
– Dill pickle chips on the side for extra flavor
These sides enhance the meal and make it more fun!
Crispy Dill Pickle Chicken is a delightful dish that is easy to make. We covered ingredients, marinating times, and even cooking methods. You learned how to achieve the best crispy texture and explore fun variations. Remember, you can store leftovers properly to enjoy later. Try adding your own twist with different spices or sides. Enjoy your cooking journey and have fun with this tasty recip